If you ask ten people about sowing lithops, I’m sure you’ll get 10 different answers, and really, they’ll all be correct answers, because there’s not only one way to do it. In this few lines I’ll try to give you my experience, as much as I can and I’m not saying it’s perfect, but the things I’ll show to you „works great“ for me and there’s no way it will not work for you, too! It’s important to follow these next steps to do it, because it’s like chain, if one piece is missing it wont work.
Table of Contents
- Sowing time
- Substrate
- Temperature during germination
- Fungicides
- Sowing pots
- Sterilization of substrates and water
- How To Grow Lithops From Seed
- Germination
Sowing time
Lithops can practically be sowed at any time, if you give them the right conditions for growing, but there’s a „rule“ that the perfect time for it is Autumn ( Sept. Octob. ) or spring ( March, April ). I do it in spring, in the beggining of March because in my experience this period showed as ideal.
Substrate
About supstrate is the most conversation, I’d say not necessary, beucase every supstrate in right amount, and low amount of humus will be good. The thing we need to worry about is that supstrate doesnt have in it dust particles ( like small sand ) lesser than 1 mm, because in longer period it hardens in to concrete and roots will not be able to „breathe“ and travel its way, but as much as small sand we must avoid too big sand.
Some of my universal supstrat for lithops sowing i most others sukulent plants is made of 1/3 quartz sand from 2 to 3 mm (or river gravel), 1/3 perlit and 1/3 garden soil. If you can’t get garden soil, you can use store bough supstrate.
Avoid supstrate with peat ( most of bought in stores are based on peat ), but find the ones made of compost. When you get those 3 components, you can add small percentage of vermiculite, zeolite, pumice, coco fibre (depends on what can you get) but it’s not really that necessary. So all in all, supstrat must be lapsing water and not reatin it, predominantly mineral composition, granules of 2 to 3 mm.
Temperature during germination
To germinate lithops, it is necessary to provide the appropriate temperature. Lithops do not like high temperatures during germination; some ideal range would be: daily temperatures between 20 – 25 C and night from 10 to 15 C. All over or below these limits will lead to unequal and poor germination. For this reason, we choose autumn or spring as a period of sowing of lithops because the outside temperature is in this range and we do not have the need for additional tuning.
Fungicides
Yes, ofcourse. Before sowing, we must arm with some appropriate fungicide, because with high humidity and relatively low temperatures the fungus can develop very rapidly, and our seeds and later seedlings are very susceptible to their attacks, and practically overnight they can destroy the plant, which is something we least want. I have been using Cuprozin 35-wp (based on copper) for years, and it proved to be very good, which does not mean that others are worse, but I simply do not want to experiment with other brands.
Sowing pots
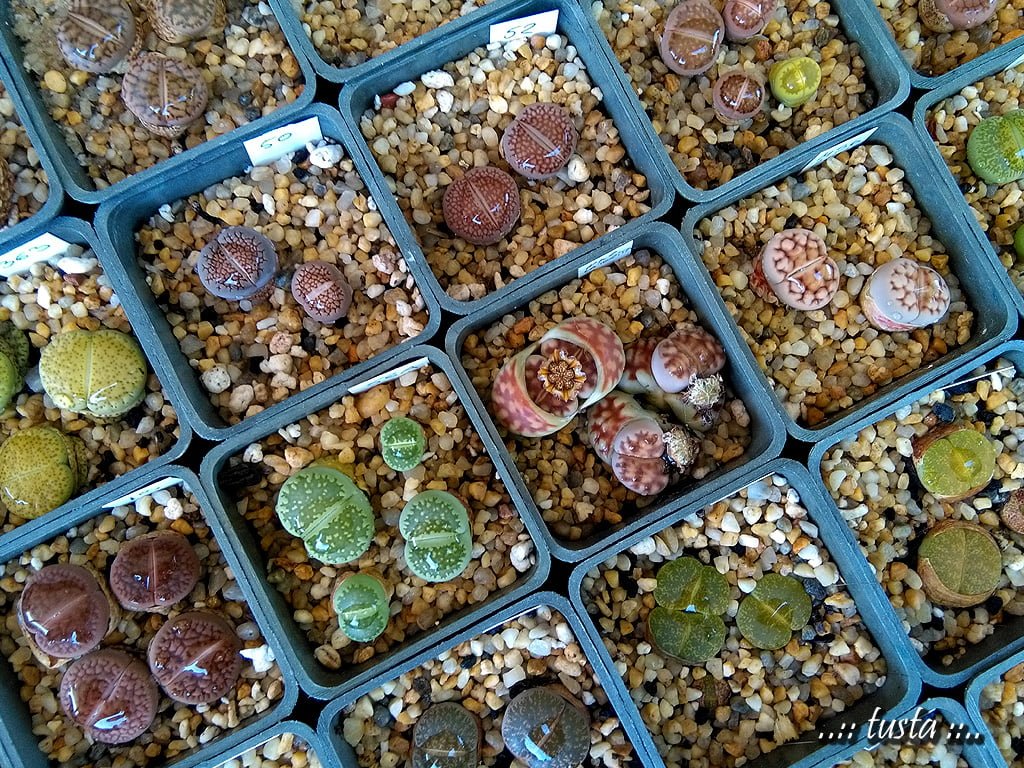
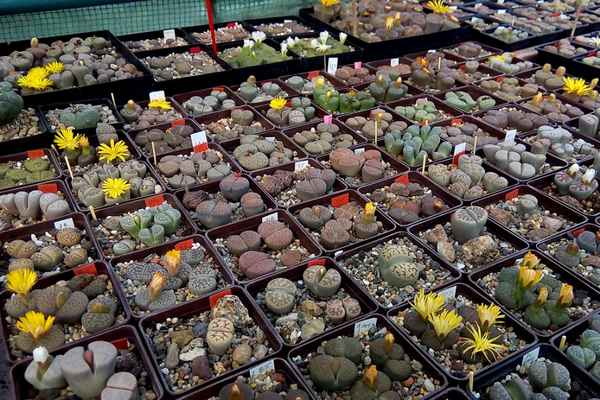
There is no big philosophy here, I use plastic „cactus“ pots, measuring 5 × 5 cm, which are sufficient for planting from 30 to 50 seeds. I am mostly a fair of pure type of lithops, and each species is sown in a separate pot, which I mark the marker, where I usually write the type of lithops and the date of sowing. Watch to use new pots when sowing, and if you do not have new ones, wash them well before sowing.
Sterilization of substrates and water
Before we start sowing, we should sterilize the sowing substrate that we have prepared, which will drastically reduce the possibility of the appearance of fungal infections. For such a thing, we will need enough sherry and electric oven to be heated to 150 C. The substrate is baked for about an hour. While the substrate is baked in the oven, at the same time we can pour the rainwater that we use during sowing, but we can also use distilled water.

How To Grow Lithops From Seed
When we have prepared everything, seeds, seed dishes, substrates, water, we can start sowing. First, for example, one liter of distilled water, I add to the tip of the knife the above mentioned fungicide, you can not overdo it and if you add more. I shake well so that the solution is homogenized and then, after a little bit, I add to the substrate water, while stirring with a spoon until the substrate is visibly moist but not excessively wet, ie, gibberish.
It’s already a matter of feeling, but try to find some sort of environment. By this procedure, the substrate was moistened, but we also added a fungicide to it. Is it clear? ?? After this, add the substrate in the pot, up to some half cm below the top of the pots, and at the same time we need to have a square solid object in order for the substrate to gently compose and align the surface, thereby avoiding any possible air pockets in it. For this purpose, we can use a flat piece of wood (battens), a piece of plastic object or whatever is handy at hand, and do not overdo it with compression, a slight thrust will be perfectly OK.
Now that remains the most important part of the work, sowing. The lithops seed is very small and care should be taken to distribute it evenly in a pot. For this I use a folded paper in which I pour the seeds and squeezing the paper as hard as possible to distribute it evenly, after which I slowly dip the seed (the same subject) and the sowing process is completed. STRONG-IMPORTANT: We do not cover the seed with anything!
The planted pots are then placed in a pre-prepared transparent plastic container (I use food containers) can be found in various sizes and buy yourself appropriate depending on how many pots you sow. Before I put the pots in a bowl, I pour the remaining water with fungicide, so that the pots are immersed about half to 1 cm. Plastic bowl is closed and placed in a bright place next to the window, where there will be enough light, but at no time there should be no direct sun, because in direct sunlight, the seed can practically boil, and there is nothing of a successful sowing. A far more practical and safer option is an artificial light.
For such a thing, we need a classic energy saving or LED bulb (10 to 15 W) which will stand about twenty centimeters from the seed bed included 16 hours a day. As I do not think too much when I turn on or turn off the light, I use an electric timer that automatically lights up and turns off the light at the set value. But for some hobbies of hacking is not necessary and you do not have to expose yourself to expenses, it is enough to give a rough light to the seedlings for about 16 hours. And that is all …

Germination
Now we just have to wait for the seed to start germinating. The seed of lithops is very fast, but after three to four days you will notice the first miniature green heads as they penetrate the substrate. The germination process lasts about 15 days and during this time we do not open the sowing container in order not to disturb the humidity of the air. Ok, I know that from time to time you will fall into temptation and open the bowl briefly so that you can see what is happening, and I go into similar situations, but when you do it, try to make it really a short period, not longer than a couple minutes.
When the majority of the seeds emit, and this should happen within two weeks, we completely discover the vessel, the excess water that is kept at the bottom is carefully washed and continued with the care of our younger sowers by spraying them once or twice a day with distilled water in which is slightly added fungicide, a fine sprinkler, which virtually turns water into a fog (for this purpose, you can use a pump that is obtained, for example, with a detergent for washing glass or the like).
With daily spraying and mild spillage, we continue the first few months. For the third month, we can reduce spraying on every second or third day, and by the end of the third beginning of the fourth month, the first lithops will be replaced, when we will still slightly reduce the polishing, but in the first year we should not allow the substrate to be completely it dries up.
Unlike mature plants, young lithops in the first year of life must always have sufficient moisture in the substrate. Read more about lithops during the first year of life, you will read in one of the following articles, for now – I hope you have enough material to enter the adventure called „sowing lithops“. If in some part I have remained vague, leave your questions in the form of comments and I will make an effort to respond in a timely manner. Read the next article about the detailed cultivation and care of Lithops.
And while you eagerly await your future "living stones", visit TOP games to relax, have fun and relieve stress with thousands of free online games waiting for you. With Lithops and gaamesthe fun never ends! Good luck with sowing! !


I haven't read such a beautifully written text from the profession for a long time. Everything is so detailed, and simple, explained. I am thrilled!
Thanks Lidija
Super written text!
Great!!!
Perfectly described in detail, a great help to me. Thanks
Does all this also apply when sowing cacti for example… or some kind of succulent? everything is nicely explained
Yes, for all South African succulents, for cacti also with the fact that the difference in temperature required for germination can vary (be slightly higher) for certain species
Odlično, čak i za nas potpune početnike, hvala puno na detaljnom tekstu